Blog

Scanning Old Photos

thorpefamilyc2a9-1894172

I spent much time last night on the phone talking to far-flung members of my extended family. All part of my current project, scanning old family photos and posting them on my photo site. Many of these pictures were from when dad and the aunts and uncles were kids and I wanted to let the family know the photos were up and could be viewed now.

Most of these photos have been in an old, crumbling album that was in the family for who-knows how long… After both mom and dad passed away it fell into my hands. A couple years ago I was concerned about the safety of these old pics so I transferred them all into a new album with acid-free paper and so on. Not an easy task, as somewhere along the line someone had either taped or glued many of the photos onto the pages. How does one recover from that? I looked everywhere on the net for some advice but found nothing directly related to what I was going through, so I opted to leave well enough alone and simple cut each pic from it’s mount and slipped them into the new sleeves.

Over the fourth of July weekend, with the bad air (I live in California and the forest fires rage nearby) and the heat (we’re looking at 100’s!) I opted to stay in and start this project. I probably got about a quarter of the way through the black and white photos, scanning each at 300 dpi. I probably could have gone higher on the resolution, but I don’t think it would make much difference. After that step, I opened each in Photoshop and started a restoration process: Duplicate the image onto a new layer for spotting and cleanup, then duplicate that onto another layer for levels adjustment and any burn and dodge to even out the photo. I saved that and then exported the photo to a jpg for posting on the net. This step showed me that the brightness of each photo was exporting too dark, so I added an additional step of adding a brightness adjustment layer in PS to compensate. I’m assuming that exporting from the original file in 16 bit gray level to jpg in 8 bits was the culprit here. No problem, adjusting the brightness by 10 or 15% lighter seems to work and saves the original at the best quality for the time being.

Almost every photo showed signs of wear and time. Many had scratches and spots, wrinkles or cracks and the evidence of fingerprints and the aforementioned tape. I chose to deal with these in Photoshop by using the spot-healing tool on the spots in the open areas and the stamp tool in the tight spots. I tried to be very careful not to change the the feel or look of the original image. My levels and burn/dodge were done to even out the faded places and the poor printing of the original.

All in all, I’m happy with the results so far. The scans look good, the old photos are safe, the family are getting to them and we may even figure out the who/what/when/where of a few of them. I’ll be adding more photos to this gallery as I get them scanned and cleaned up…
Film Photography

medium-4324454

It’s been quiet around here, but I’ve been busy.

Last weekend I processed a roll of HP5+ that I’ve been carrying around with me since March in an Olympus Trip 35. The camera was a gift from my pbase friend DM, who’d found it on ebay and cleaned it up nicely. I’ve been slowly shooting the roll ever since the camera arrived and finally finished it off here a couple weeks ago. Last saturday evening I spent some time scanning the negs but I was unhappy with the results (I don’t like the software’s automatic crop feature) I was getting with the Epson software that came with the scanner. So I downloaded a trial version of Vuescan ,which then gave me WAY too many options, but I liked the control it offered. Ah, there’s always two sides to a coin, no? So I purchased said software and proceeded to re-scan these same negatives multiple times during the past week, working late into the evening. Each time I was unhappy with the results but each time I learned something about the process. I let all that ferment in my head for a couple days and last night I scanned the negs yet another time.

A couple things I learned. First, I was rather excited about Vuescan’s ability to output a raw file straight from the CCD on the scanner. Very cool! I could put this right into Lightroom and tweak it there. But I was unhappy with the fact that the Mac OS wouldn’t give me a preview of the file in the finder. If you wanted to see what a photo was you had to open it… And, as my usual work flow on film scans is to open it in Photoshop and do a cleanup/despot, the raw didn’t really afford me much as I then would end up with a psd or tiff file, thus doubling my file storage for each picture. So after all this, and teaching myself the Vuescan software and interface well enough to get a passable scan, I opted to go with a tiff file, like I was doing before Vuescan, and then stay with my original workflow: scan, tiff, Photoshop for cleanup, then import to Lightroom for any levels adjustment.

At least, that’s where I am this weekend…

Sinaloa Sign

medium-5499877

If you’ve been around here for any length of time then you know of my affinity for old signs. Today’s pic is from a local restaurant I frequent, an old family establishment that is a local institution. The sign really captures a different place and time. As so many things like this are disappearing fast, I didn’t want to take it for granted that it would always be here. I thought it best to get it now before it’s gone from our local landscape.

And yes, the food is excellent!

Foot

From a mini-shoot I did with Faith yesterday. I was trying to think of a way to show her shoes and feet in the best light and still have some theme contrast. I didn’t want to see just her feet in a pose on a white background, too boring. So we went outside on the loading dock where some old equipment gathers dust. One foot up, shoot across to the other shoe… a juxtaposition of the hardware with the leopard-print shoes and the little taste of red on her toes. I’m pretty happy with the result.

medium-8459034

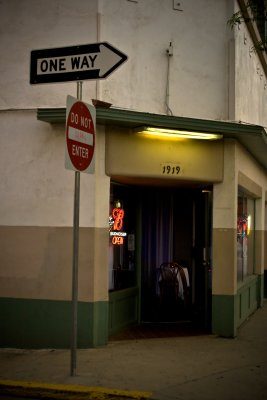
1919

medium-7654435
1919

Sometimes I get stuck for photo ideas. When that happens, one of the things I like to do is a little photo exercise. I stop in the downtown area and take a walk with my camera. I start by shooting anything and everything, taking pictures just to take pictures. Snap, snap, snap. Get the eye looking and the finger twitching and the mind seeing. Most of those shots are crap; bad composition, to bright or dark, whatever. I throw those away. Delete. But then things start to fall into place. The mind warms up, the images start to come and things start to click. I did that exercise tonight on my way home for work, walking around for about twenty minutes before the daylight gave out.

29 | February | 2008

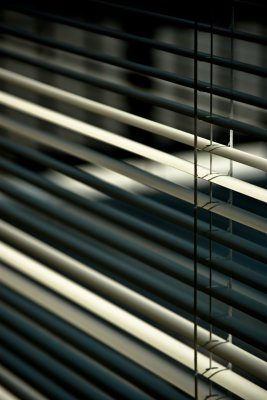
I love wandering in the alleyways downtown for pictures. Seems there’s always something of interest. Often it’s a wall, or a bit of asphalt or some detritus that catches my eye. Tonight I found myself looking at a wall of windows on the back side of an apartment building downtown. It was just about sunset, the direct sunlight was gone. I stepped up to ISO 200 and f/5.0 and shot a couple shots. A little tweaking in Lightroom for my post processing…

All by itself

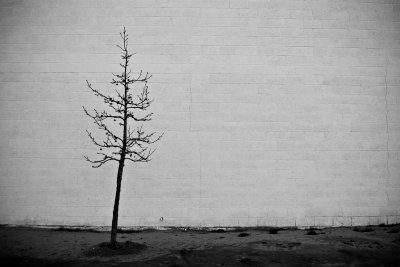
A long day at work, but there was still just enough light tonight for a photo on my way home from work. As I was driving through the downtown area, I spotted a lone tree in an empty lot. I pulled over and grabbed my camera, set the ISO for 200, shutter at f4.5 and snapped a couple pics. I got back into truck and headed for home…

medium-3893696